UPDATE: Here’s a video of the system going through the gears. (Here’s another video if you’d rather listen to Ahnold walk you through it.)
Check out how the front derailleur auto trims as the chain moves across the cassette. It’s nice that it runs quietly all the time, but I kinda miss how a little derailleur rub would let me know I’m crossing the chain too much and should change rings.
Also, note how the front derailleur makes its shifts in two moves. Going to the big ring, it overshifts to push the chain on, then centers itself over the chain, just like you would with a cabled system. Going down, the derailleur makes a slight move to drop the chain, then finishes its travel. This is distinctly different than a cabled system, where the derailleur drops straight to the inner limit stop on spring tension.
Di2’s gentler two stage motion is supposed to lessen the occurence of chain drops, but I managed to drop my chain a couple of times anyways. The first time it happened I was able to shift the chain right back on. The second time I flailed away at the shifter until I lost all speed. Turns out that you can hold that overshift with a cabled shifter until the chain catches on, but with Di2 you only get a second or so with the front derailleur overshifted. So on went the chain catcher.
Reinstalling the front derailleur was really easy, especially without a cable tugging away at it from below. With the derailleur’s angle locked in with the set screw, all you do is put it on at the same height as before, and tighten it down with the set screw touching the seat tube.
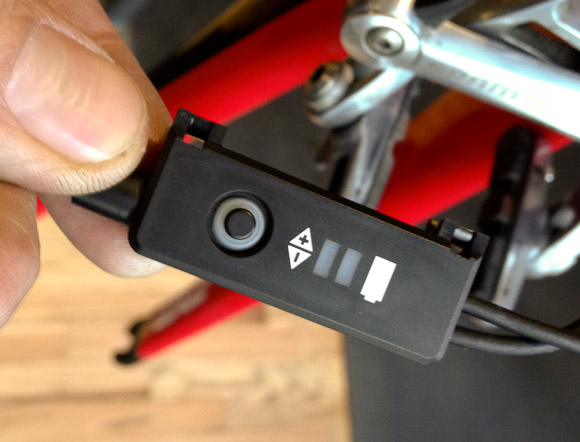
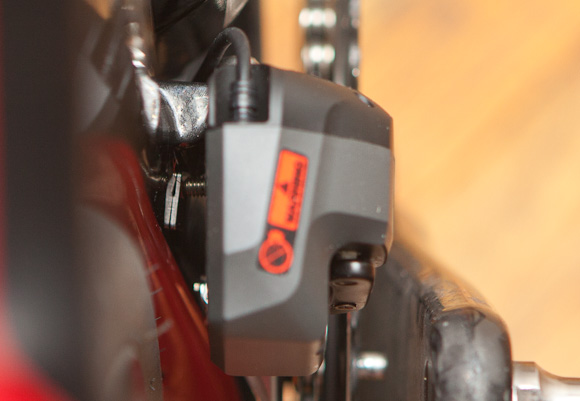
The only other nitpick I had is the way the battery slaps against the downtube as the bike hits bumps in the road. A little foam rubber restored the peace.
Original liveblog build below:
I finally did the inevitable and splurged on Ultegra Di2, thanks to my Piermont Bike eBay slush fund, which feels more like Monopoly money than real money. I’m going to build up the bike today under Mark Purdy’s supervision in an attempt to find out how idiot-proof the process is. Please follow along and hit Mark up for wrenching tips and dating advice.
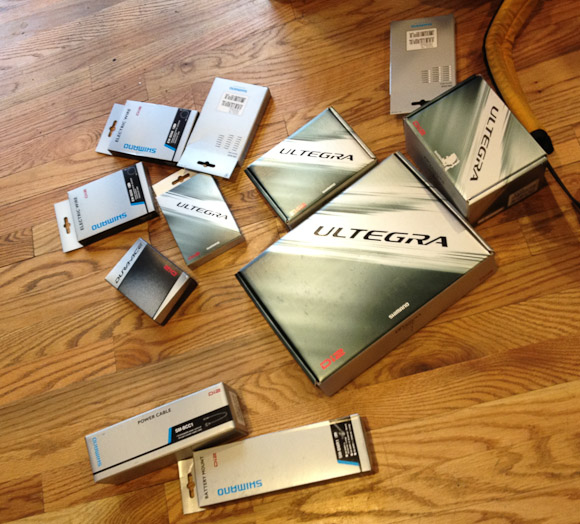
Here’s the big pile of stuff. I had to tell Piermont my bike size so they could send the correct length wires.
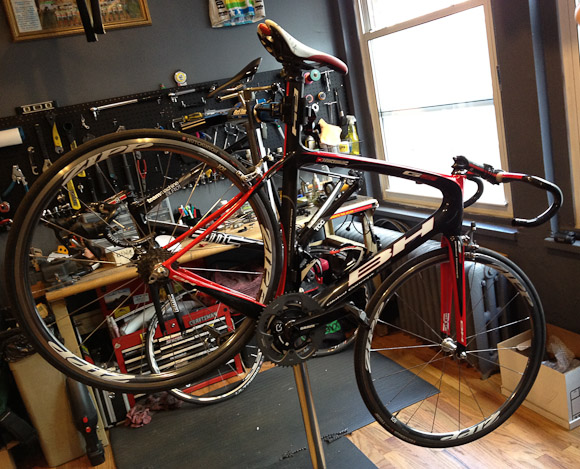
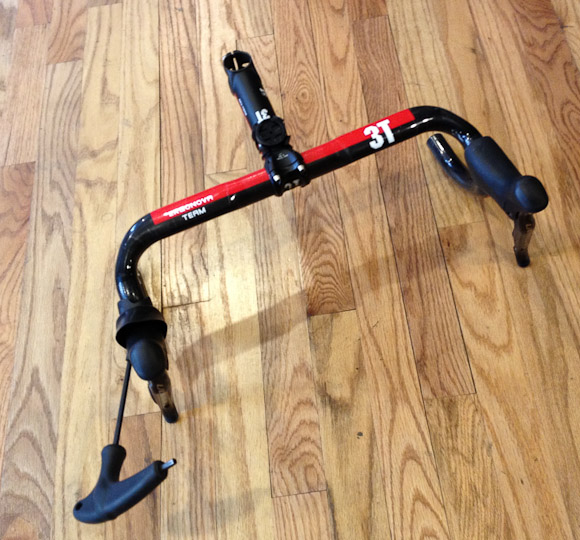
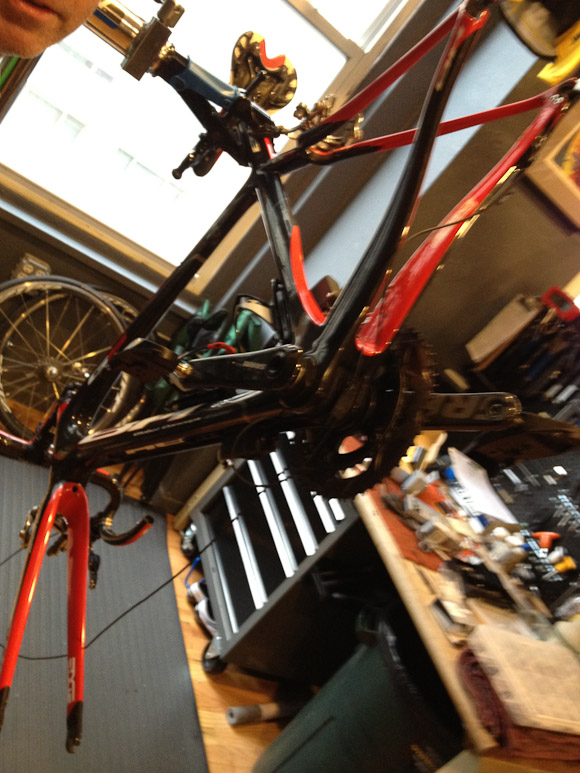
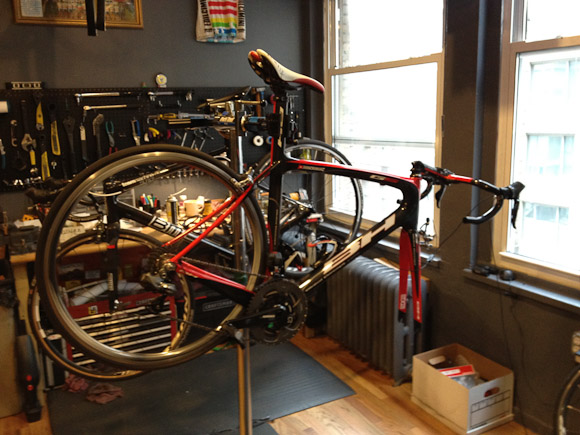
Here’s the bike it’s going on, ain’t she purdy? I’m keeping the Sram brakes, which is not ideal for cable pull but ok according to Mark.
This is the old Dura Ace Di2 BB junction, a hard wired mess. The new Ultegra junction is just a little box that the wires plug into.
A Purdy tip: take the bars off and use a flat surface to perfectly align the shifters.
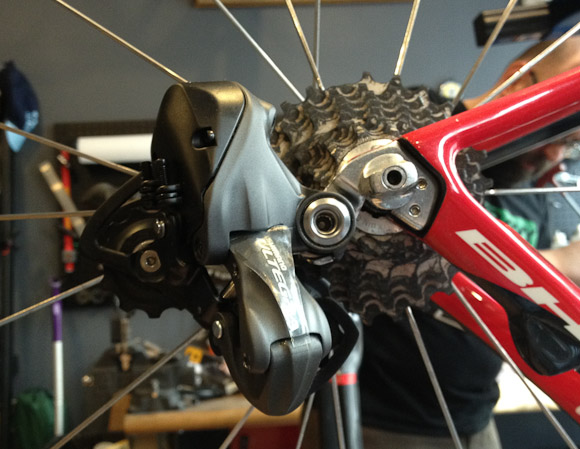
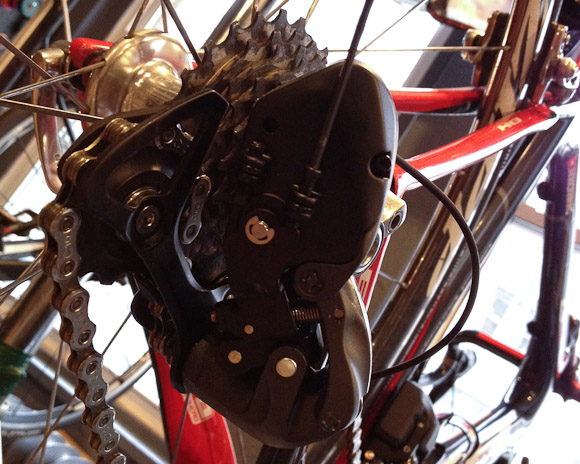
Rear derailleur goes on simply enough.
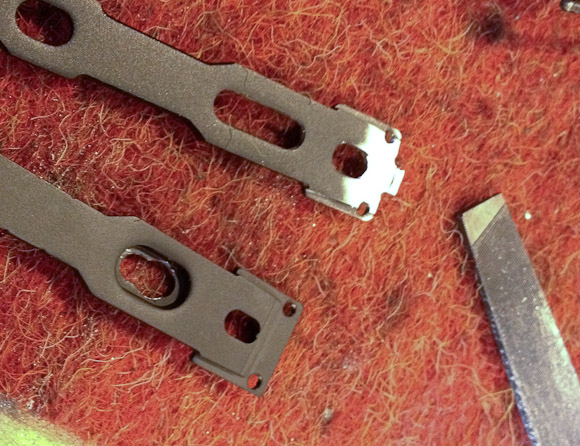
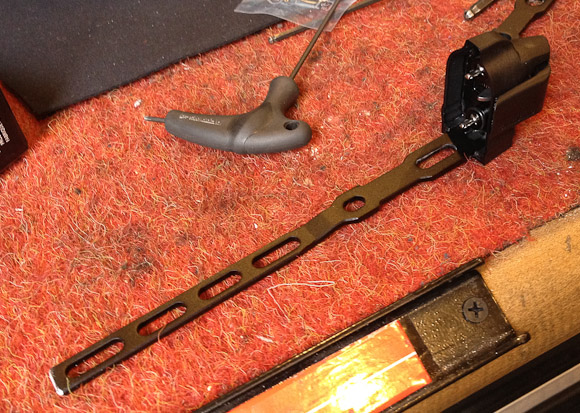
Trial fit of front derailleur to determine placement of the metal backing plate.
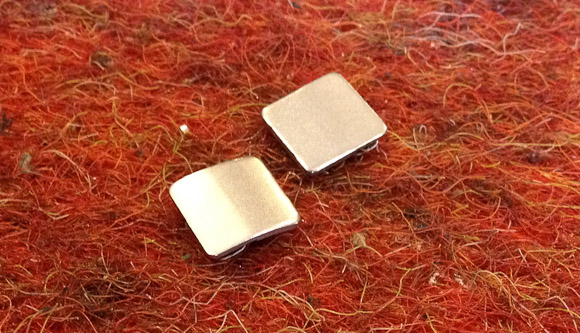
Here’s that metal tab for the FD to push against. You get a curved one and a flat one.
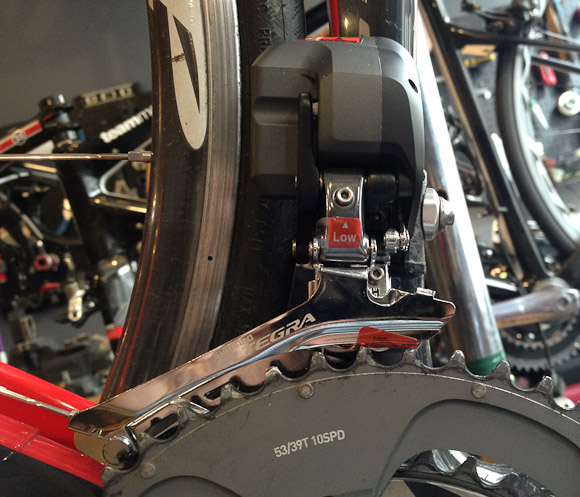
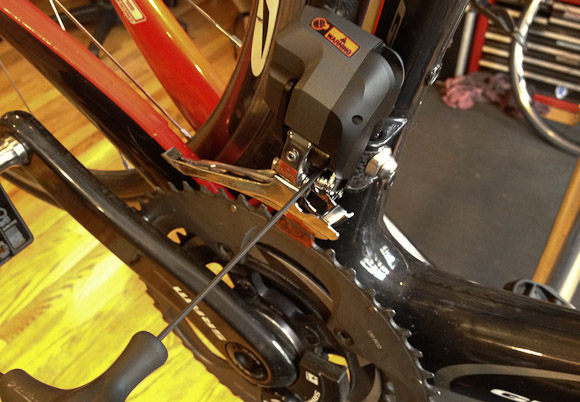
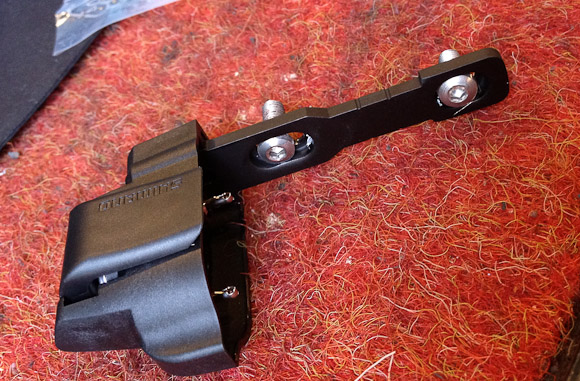
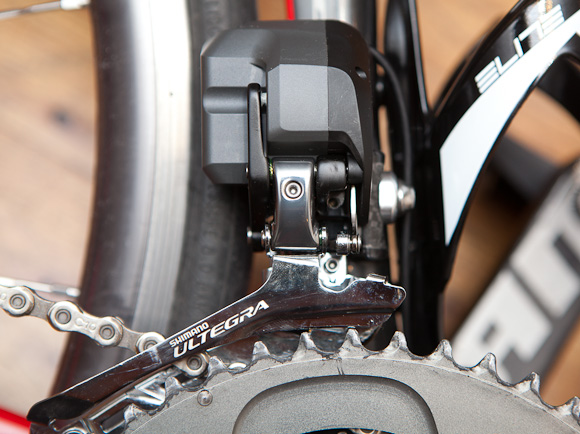
And here it is on the seat tube. I marked its position with a Sharpie after the trial fit. The FD goes on slightly tail in, because…

…once you bottom out this 2mm screw against the tab, the tail gets pushed out a couple of degrees. Now it’s parallel to the chainring.
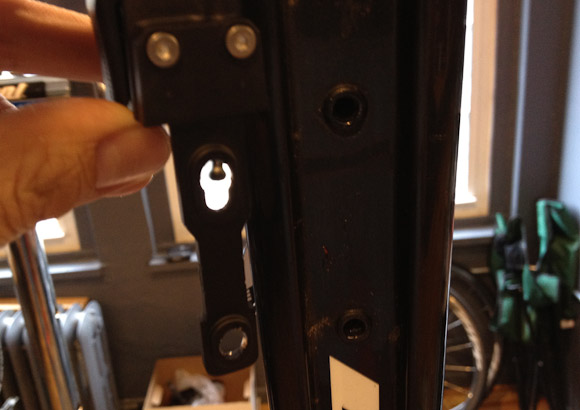
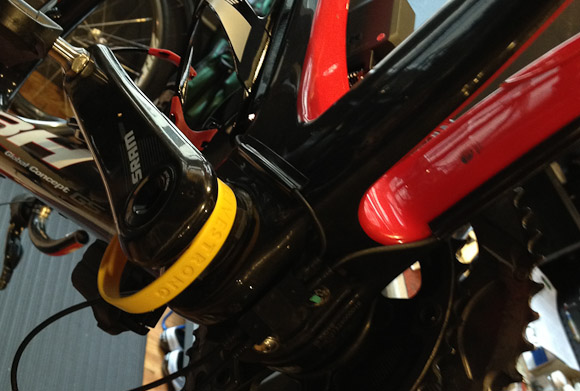
Yikes, time to get creative already. The BH has a battery mount under the downtube – you can’t mount the battery behind a bottle ’cause they sit so low on the frame. Unfortunately, the short mount takes smaller bolts, so Mark is having to grind down some water bottle bolts to fit flush on the mount.
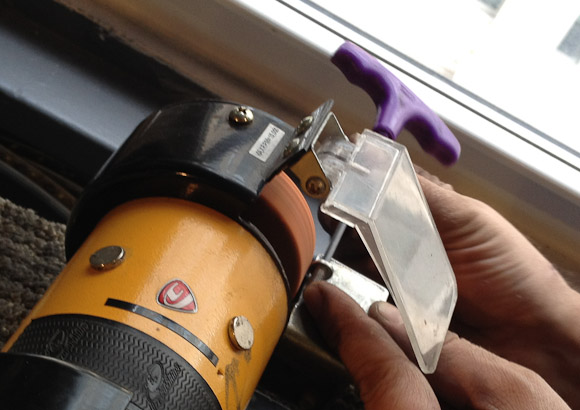
The bolt head has to fit in that groove or the battery won’t slide in. After this Mark will ream out the holes for the bigger bolt as well.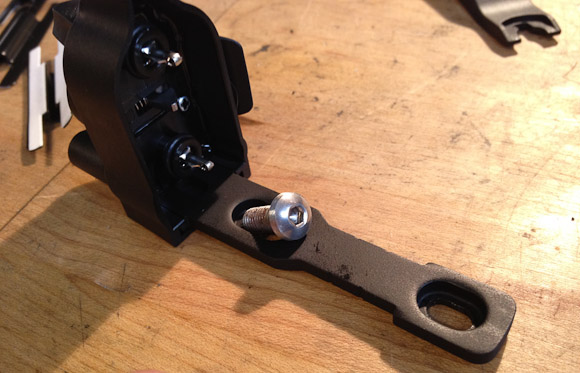
Success! Right about now I’m very glad I didn’t tackle this on my own. Short curly photo background by popular request.
Great. After all that we discover that the spacing of the holes don’t match.
The mount comes apart so we’re going to attach a cut-down regular mount Mark has lying around. Still very glad I’m not tackling this alone.

Spoke too soon. The Ultegra and Dura Ace mounts are subtlely different. Time to do some grinding and filing.
And that just took forever, for a stupid battery mount.
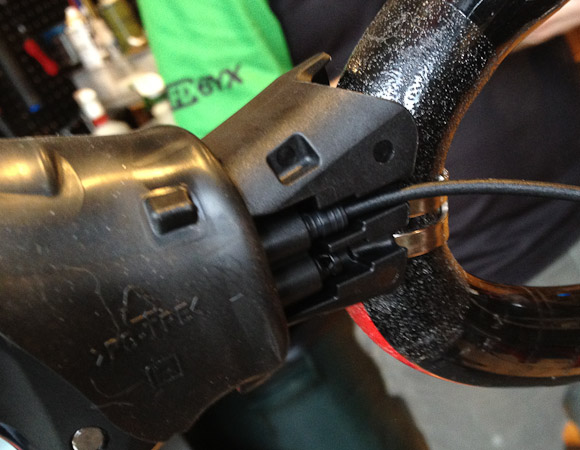
Time to start plugging stuff in. The little black box is a junction box that sits in the BB area. The two derailleurs, battery, and shifters plug into that. That’s a special tool for pushing the plugs in.

This thing…
…plugs into the shifters here. The lower socket is for sprint shifters, not yet available. Once the four wires are connected, it’s all wired.
 \
\
It’s alive! Wires are hanging everywhere but it’s shifting.
Glue down channels tidy up the wiring. Mark gave my bike a present.
Sorry, no nude shots yet. Yet.

Setting the limit stops. Unlike cabled derailleurs, the screws come backed way out. You put it in gear and then move the screw to the stop. Trimming the rear is super simple, way easier than cabled systems. Put the chain on the fifth cog and tweak it in adjustment mode until it runs silent.
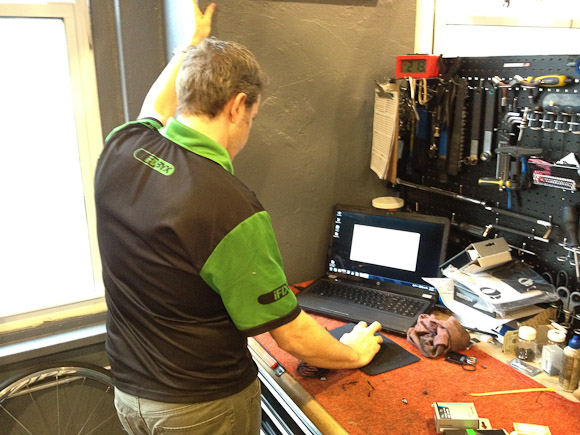
One of the cool things with Ultegra Di2 vs Dura Ace is you can plug it into a laptop and diagnose and adjust the whole thing. You can even re-designate the buttons to do different things. Dave Sommerville plugs my bike in.
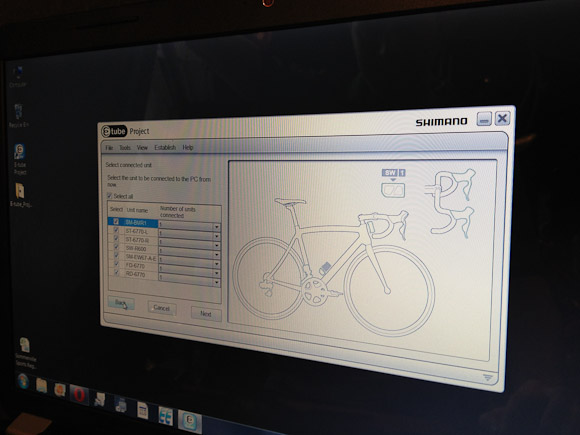
The program will go through the system and find any problems.
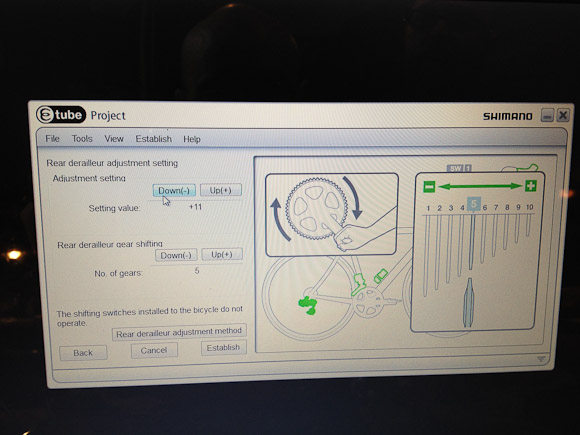
You can also tweak the derailleurs on the laptop.
Ok, that’s about it. I’ve got to hook up the brakes, wrap the bars, and clean up the last bits of wires. If it wasn’t for the funky battery mount this would’ve been a real cinch. It’s actually easier than a cabled system. It was nice doing it with Mark because he has a big selection of wires, which allowed me to swap out what I had for the shortest, cleanest lengths.
Time to pick up the kid from school, thanks for following along.
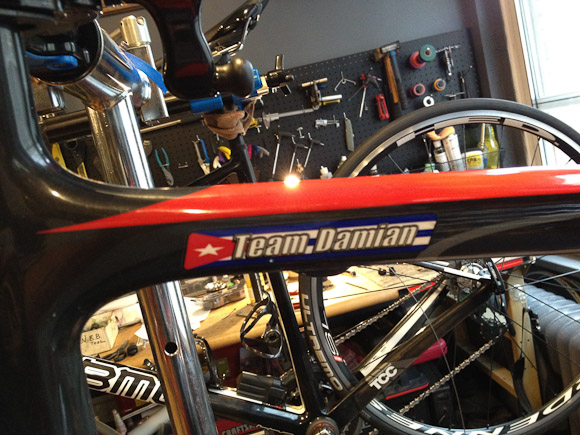
And one last plug for Damian.
Epilogue: I finished up the installation at home. More shots:
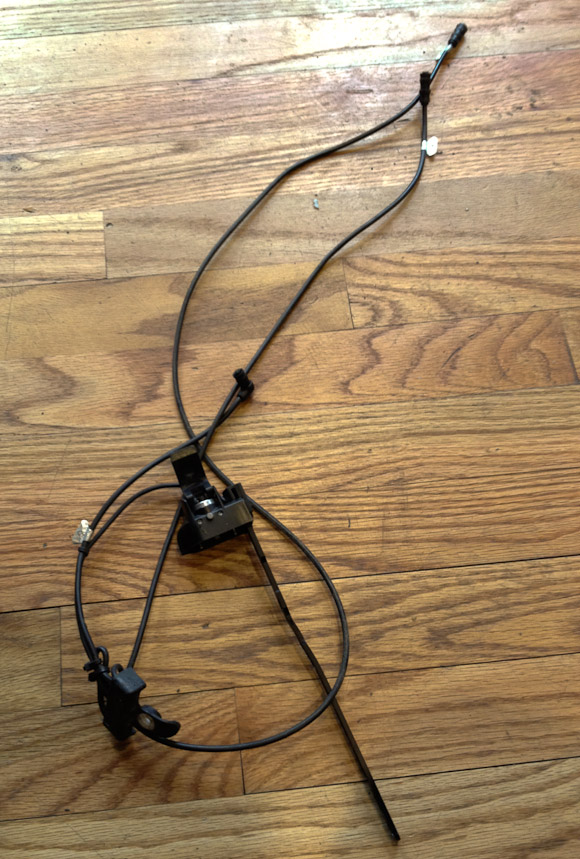
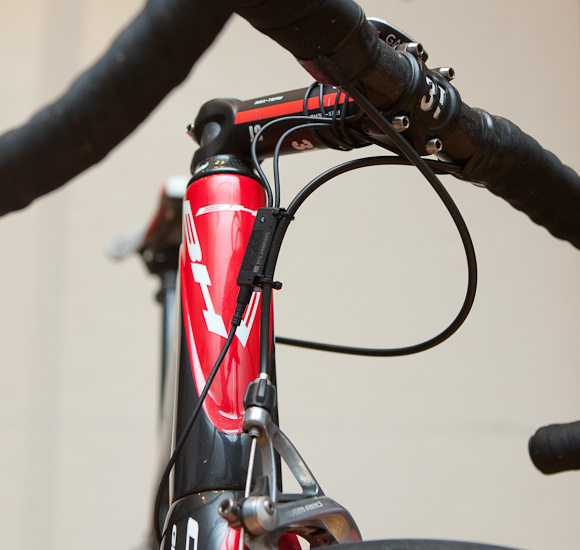
Here’s the finished front end. The junction box zip ties to the front brake cable.
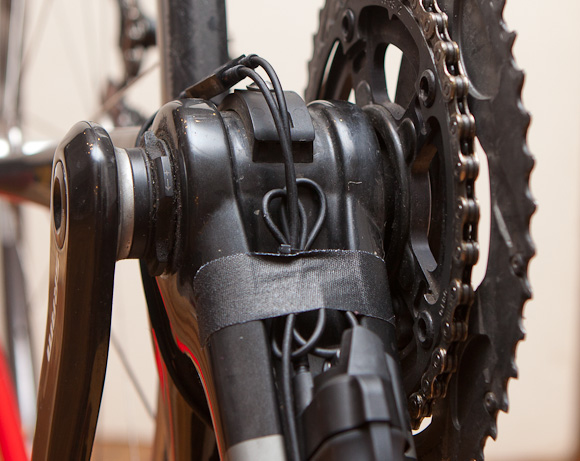
Not so elegant solution for excess wiring. I’ll have to refine this later. There’s another version of the BB junction that screws in where the cable guide goes, but mine’s stripped out so I had to go with the loose version, which is usually used for internally wired setups.
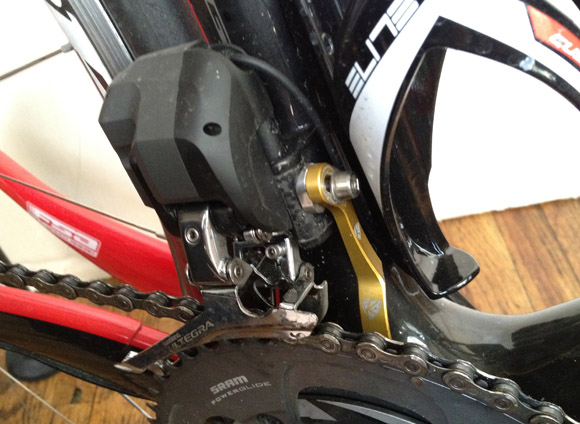
Here’s a closeup view of that 2mm screw that pushes against that little metal tab that’s affixed to the seat tube. It’s amazing how much force that little screw can exert on the front derailleur. The slightest amount of torque on that screw rotates the derailleur, no matter how tightly it’s attached. It’s easy to see how this can tighten up your front shifting.
Front derailleur setup was pretty straightforward. Set the inner and outer limit stops at each extreme and you’re good to go. I’ll upload some video of it auto-trimming later – it’s pretty cool, you literally can’t get any chain rub.
Thar she blows. Might have to get a black saddle to complete the look. It’ll be interesting to see how nasty the battery gets under the down tube.

show more photos…
Keep this up
Where are the tasteful nudes?
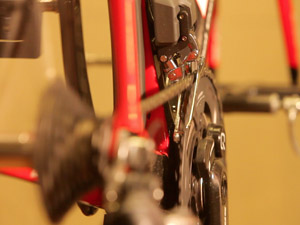
that is a filthy cassette.
Dammit, first my razor, now this. I’m a dirty dirty boy.
Recycled as photo backdrop
Those are Purdy’s short curlies. He is a manscaper.
I’m not a natural redhead.
I like the tip on aligning the shifters.
I’m a former bike shop wrencher and I wonder if Sensei is worried that folks could use these liveblog builds to help them do their own builds/ maintenance and might cut into his business.
Tips like taht give the average Joe just enough info to make a mess of things.
Good point.
I align my brifters or levers by holding a board or some other straight edge to the bottom of the drops so i don’t have to remove/ replace the bar and stem and then readjust the headset. Though that method always has me wishing I had a third hand…
I’ll try your way when I get around to replacing my 17 y.o. Ultegra group, whenever that happens. At least it’s a quill stem. On the bleeding edge, I’m not.
your bike make a hissing sound and let off steam when he put it on? more pics of pretty purdy please.
More tips will mean more business for Mark, not less. The only folks who really gain are those who work on their own bikes anyway. Also, one thing this build shows is that you really need to have access to a lot of tools, like a grinder, and know how to use them.
When I plug the bike into the computer, is there a Gruber Assist setting?
Going on the BMC on the other stand?
Who doesn’t belong: Contador, Schleck or Armstrong
According to CAS all three have won a Tour now.
Yawn
That is DA Di2 onthe other stand. Not a new build, just an Overhaul.
I use a ruler from the bottom of the bar to level the shifters. Then I use an angle meter to confirm.
Just did the same install on my bike though it took me a few days fitting in an hour or three here and there. Really happy with it though.
ts
The screw that bears against the plate should not push on the part that has the adhesive strip on the back. The screw should push on the part of the plate thats a bit thicker. With it installed the way you have it, there is a little give every time force is applied, as the adhesive strip is compressed.
sorry but that whole build looks like ass. if i wanted duct tape and improvisation i’d go to along island city strip club, on a sunday morning.
no bueno
White bar tape would do it.
That’s GAFFER’s tape (the greatest of all tapes), not duct tape!
Tired of cleaning white bar tape.
Good catch on the plate, I might spin that sucker around, but so far shifting fine.
It puts the lotion in the bottom bracket.
So will this Di thing make you faster? If so, by how much?
What if your crash, will Shimano replace the broken Di parts?
What if someone changes your gear using an App for the iPhone, while you are on a steep hill?
What if your Di gets hacked and you can’t shift?
What if you download a virus (the Android bug) wirelessly?
If you’re in a solo break running Di2 or other electronic group, watch out for the shady looking guy in a Foundation jersey holding water bottles at the top of harlem hill. He’s really holding an EMP device.
I love when people say “anyways”
Is that a Campy Chorus chain? I’m a Campy guy too, but the 6700 chain is pretty badass. Directional & whatnot.
NERDS!!!!